- DarkLight
Form Submission Setup
- DarkLight
To set up your form submissions look no further than the form module itself - everything you need in one place. In this article you will learn the 3 simple steps of form submission setup, as well as how to create and manage new emails.
How to Set Up Form Submissions.
1️⃣Select Main Email Notification
Triggers a notification email every time a form is submitted containing the form data completed by the user.


How to Manage Form Emails.
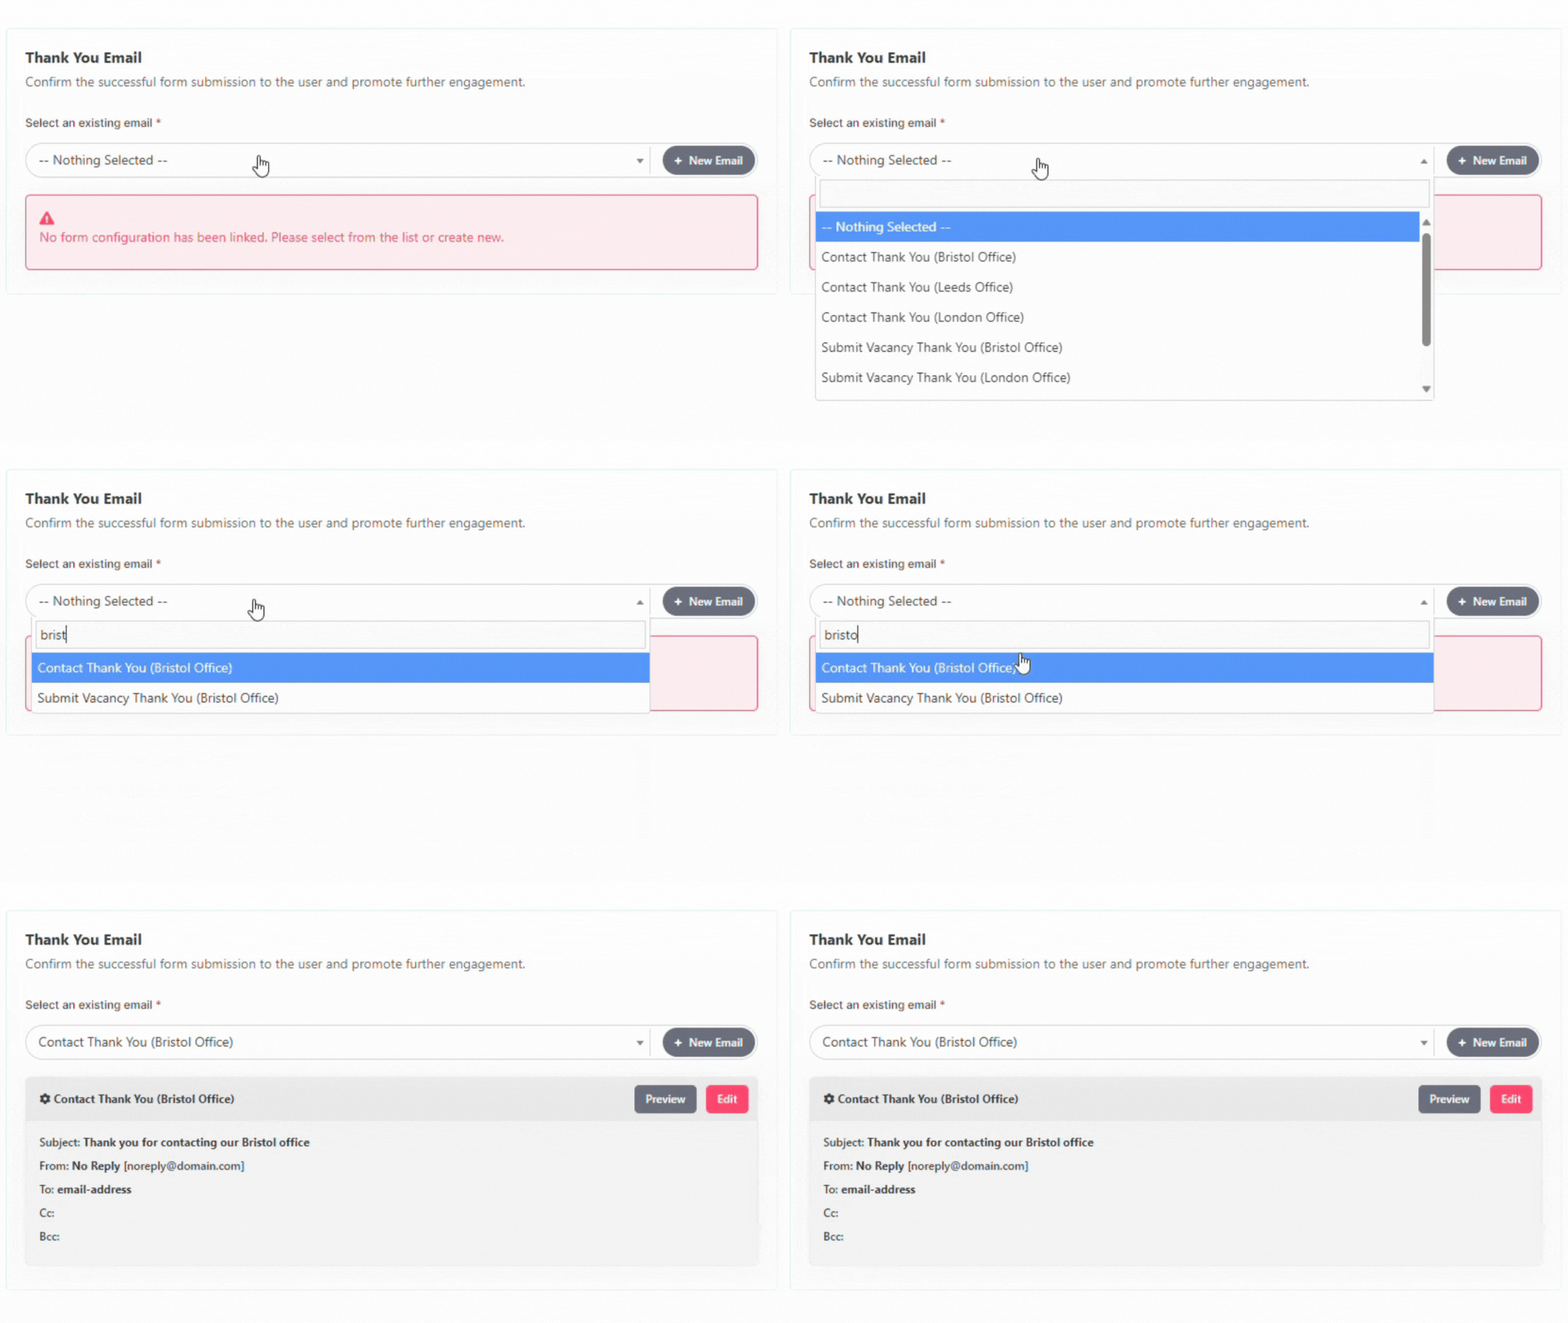
Any email you select, Main or Thank You will display the email sending settings in a small preview card below.
This means you can do final visual checks before saving your form submission setup. The preview card also contains other features to manage your emails in one place, like email editing and previewing, as well as accessing the submitted data.

Creating New Emails
If you have no existing emails to select or simply just want a different email, you can create a new one by clicking button.

The creation of a new email is done in two main steps.
Step 1: Email Configuration - Here you will find the email sending settings, like subject, recipients (TO, CC and BCC) and which address the email is sent from.
📌 For Thank You emails the 'To address' is automatically populated with the email address the user provides when completing the form.

Step 2: Email Content - Main content of your email.
This can be plain text or fully branded HTML.
📌 Please note, the Main Email Notification is automatically pre-populated with a default Vennture template, containing all the form submitted data.
Adding New Email Address
You can add a new email address as you setup your new Main or Thank You email, simply click button inside the Address field you want to add a new email to.
Specify the name and email address value, when you click save changes the new email addresses will be automatically assigned to the field.
[placeholder GIF - actual gif coming soon]

Previewing Email Content
Easily preview the content of the selected email, just click to see how it will render inside a mailbox.

Viewing Form Submission Data.
You can view all the data that's been submitted against the form by clicking button inside preview card of your linked email. The counter indicating the total amount of submissions received is an quick and visual way to check if your form is producing any leads.
The email data will open in a new tab, where you can view all submission entries, filter by keyword or date and export the data to CSV.

📌 Please note, submitted data is only saved against the Main Email Notification.

