- DarkLight
Using VSM Modules
- DarkLight
How to Populate your Web Page.
At this point, you know all the basics, and I'm sure you now have a page that is in desperate need of some content.
VSM modules offer a large variety of designs, and they can be easily manipulated with custom CSS to fit in with your branding.
Adding Modules
Once you have your page ready for population, open in the view window and navigate to the black plus button to add a new module.
Re-usable module: If you have not selected a template when creating your a new web page, here you can select a re-usable module or a global module. If you have selected a template, your page will already have your navigation bar and footer set as global modules.
Module Type: In the drop-down menu, you will find all the available modules. You can use the collections section as a reference when looking for modules you are interested in.
 Module name: You can leave this section blank if you wish or give it a specific name. For example, if you are adding a call-to-action module, you might want to include the theme or campaign title in the module name.
Module order number: Here you can set the order number for your module; as a default, every new module added will display at the bottom of your page. However, if you are adding an extra module to a fully populated page, it saves you time to input a number of where the module should be instead of dragging it about when it's been added to your page.
Content Population
Once you have selected the module and pressed 'Save & Continue' an editing window will open for the module you have selected.

Some modules, much like the one in this example, have multiple levels of content comprising of a main body (title, content etc) and a list of items (text columns, images, Q&A etc). However, the system is very intuitive, so all population happens in hierarchal order; once the main body is complete and saved, the list of items then appears ready to be populated as well.
Styling and formatting
When you are populating your web pages with content, you’ll likely copy and paste from a document such as Word or Google Docs. When doing this, it’s important to remember to strip your text of styling before pasting it into the rich text editor in the CMS. This will ensure that your text looks as intended on the front end of the site.
To do this, you’ll need to remove the formatting. The best way to do this is by pressing CTRL + Shift + V to paste without formatting when copying it over to Recruit, CMS, or Media Hub. This will strip the text back into its rawest form to allow you to add the stylings that you wish. You'll then need to format H1s, H2s, and more within the text editor using the drop-down options.

Embedded Content
Images
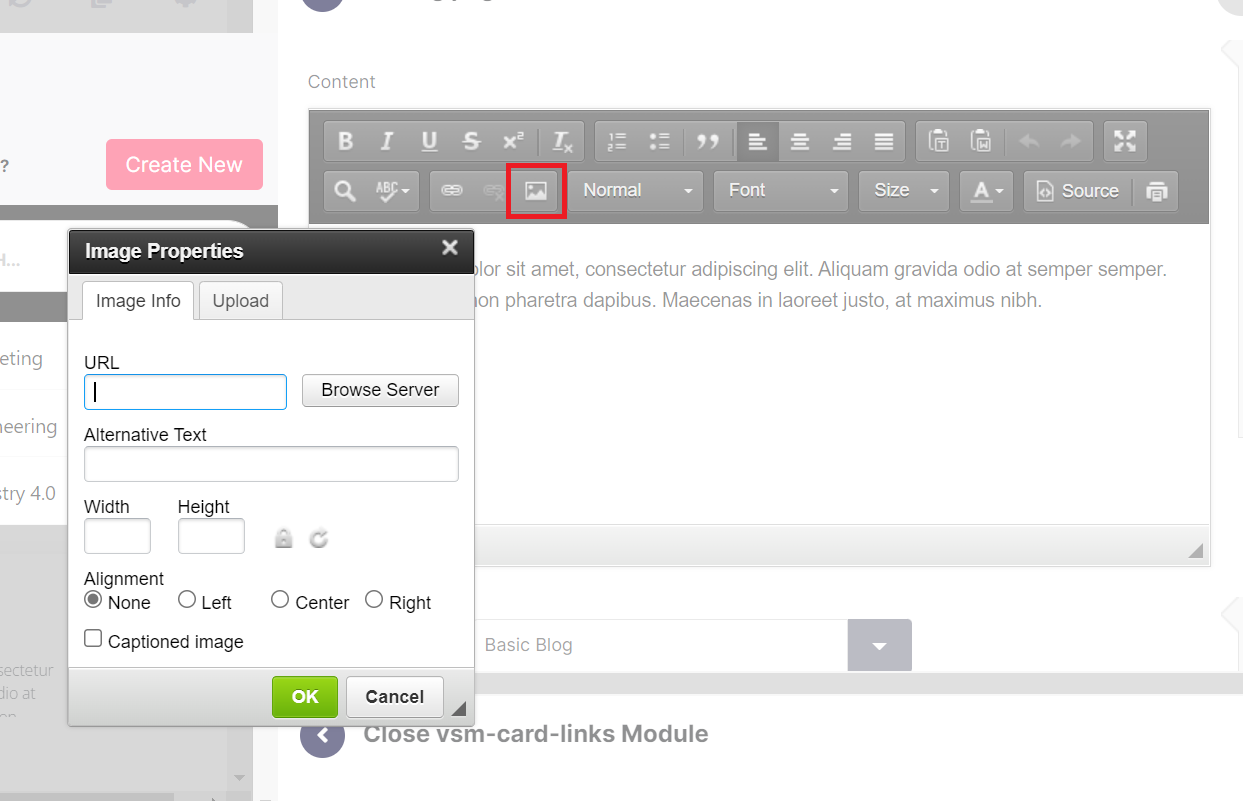
If you wish to add an image to your text within the content section, you can embed it inside the rich text editor. When you click the image icon, a pop-up known as Image Properties will appear.

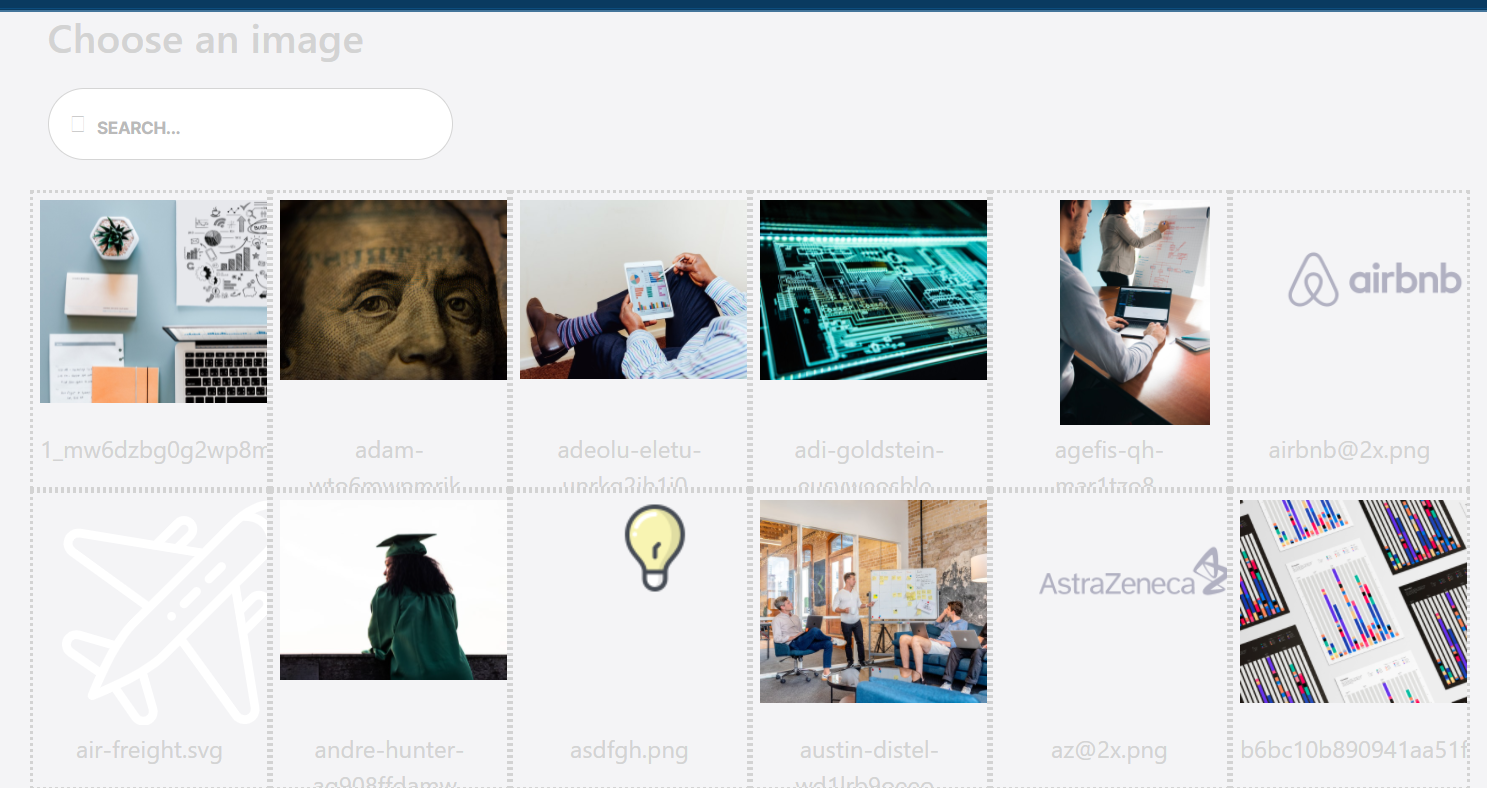
Here you can paste in the URL of an image or browse the server. If you select Browse Server, this will bring up all the images that have been uploaded into the Images section of the CMS.

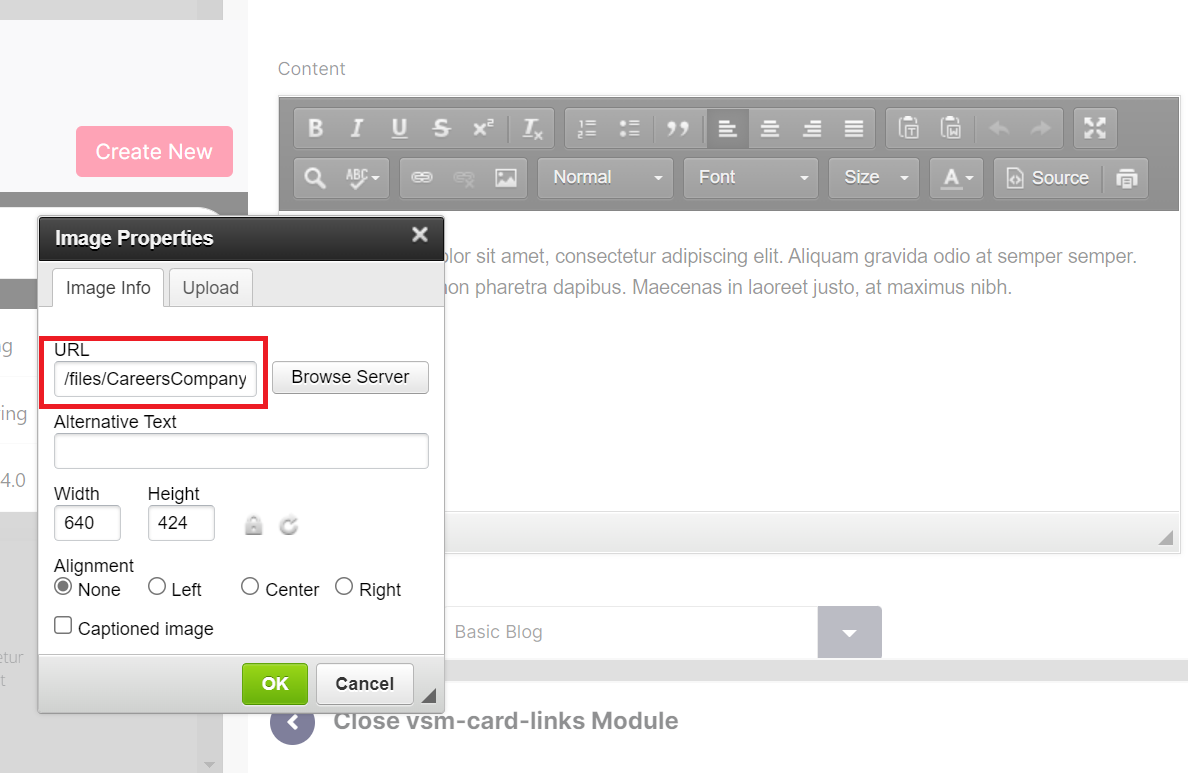
When browsing the server, simply click on the image you wish to select or search for the image in the search box provided. After you select the image, the URL will appear in the image properties.

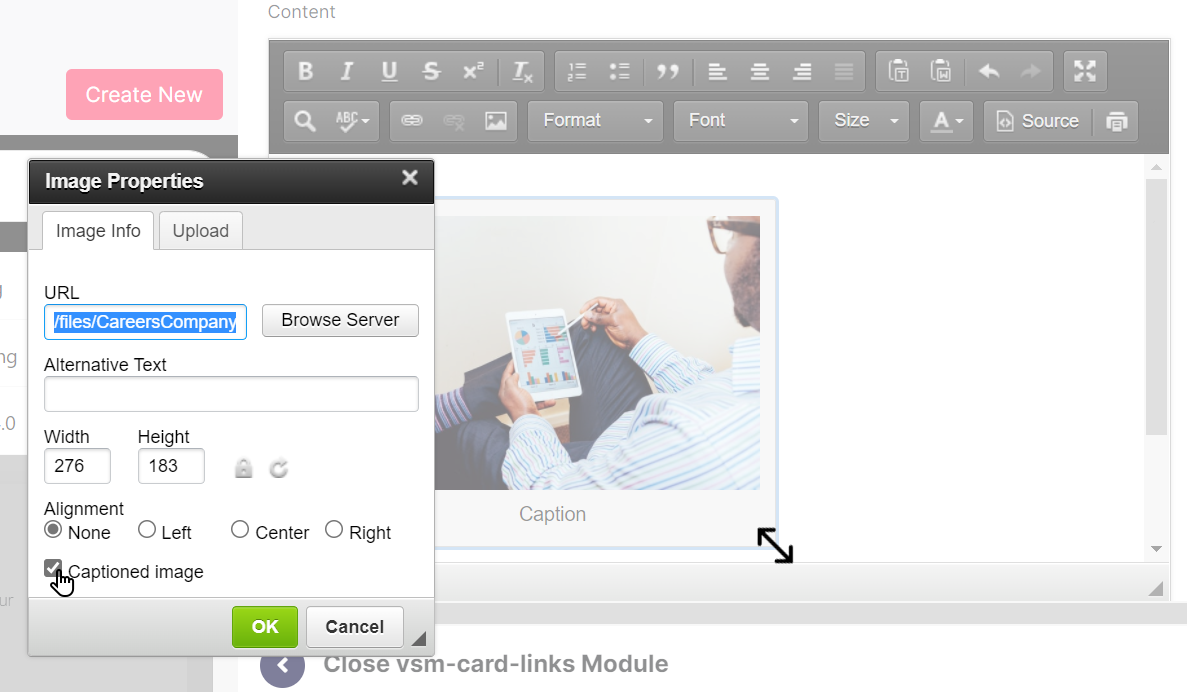
You can also upload a new image by choosing a file from your personal documents. Make sure to send the image to the server, otherwise, the image may not appear on the front end of the site.


